How to Escape Proof a Rat Cage Using Hardware Cloth
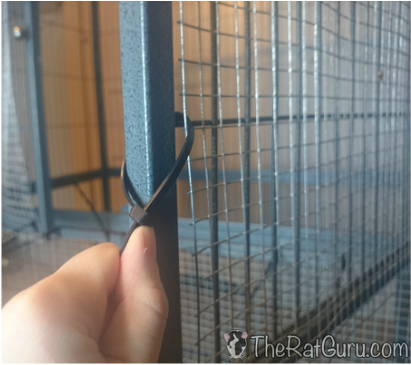
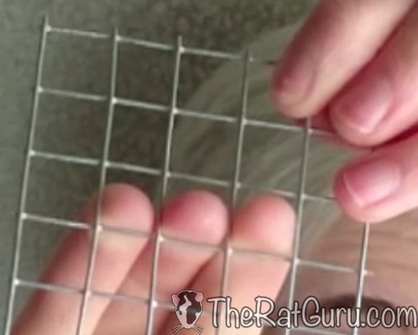 This is a small piece I cut off to demonstrate. Notice how narrow the spacing is. Anything wider than this, baby rats will be able to escape.
So, you just got your rats a brand new cage, only to find out that your little Houdini can easily slip through the bars and escape! Now you’re panicking because you don’t know what to do to keep your rats safe.
This is a common problem that many rat parents experience. Often, cages that are large enough for rats don’t have narrow enough bars, and cages that have narrow enough bars aren’t large enough. This might seem like it makes things super complicated, but take a deep breath. There is an easy and cheap solution to modifying a cage with wide bar spacing to make it escape-proof for small rats.
This is a tutorial on how to wrap a cage with hardware cloth to prevent small rats from escaping. You can do this either permanently for small female rats, or temporarily for baby male rats and remove the hardware cloth when they are full grown.
If you post in just about any rat related forum or group that your rats can escape the cage, everyone is going to tell you to wrap your cage in hardware cloth. However, after searching relentlessly through the internet many times, I've come to the conclusion that a good, easy-to-follow tutorial for wrapping a cage in hardware cloth--just does not exist. Even though it’s common knowledge, it's not all that common to find online!
I’ve done this many, many times with a lot of cages, and I had to figure it out all on my own. The first time I tried to do this was in 2009, when the internet wasn't exactly chalk full of DIY and homemade tutorials. (Luckily my mom's Boyfriend-At-The-Time helped me figure out how to do it.) Overall, I’ve had to learn how to do this from experience. I've had so many opportunities to screw this up, so I hope that my own experience will help you to be able to do this more efficiently. Learn from my mistakes and follow these instructions very carefully!
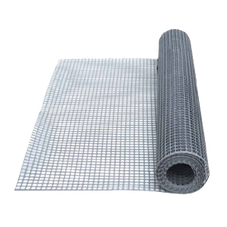
You can find hardware cloth in the gardening or fencing section of a hardware store like Home Depot, or at your local feed store. You’ll want to look for the 1/2” mesh.
A lot of people refer to this as chicken wire, but technically, that’s incorrect. Chicken wire typically has 1” mesh, so if you buy that, you’re just going to end up wasting your time and money because the gap between mesh of the chicken wire is going be the exact same size as the bar spacing of your cage.
This is a common problem that many rat parents experience. Often, cages that are large enough for rats don’t have narrow enough bars, and cages that have narrow enough bars aren’t large enough. This might seem like it makes things super complicated, but take a deep breath. There is an easy and cheap solution to modifying a cage with wide bar spacing to make it escape-proof for small rats.
This is a tutorial on how to wrap a cage with hardware cloth to prevent small rats from escaping. You can do this either permanently for small female rats, or temporarily for baby male rats and remove the hardware cloth when they are full grown.
If you post in just about any rat related forum or group that your rats can escape the cage, everyone is going to tell you to wrap your cage in hardware cloth. However, after searching relentlessly through the internet many times, I've come to the conclusion that a good, easy-to-follow tutorial for wrapping a cage in hardware cloth--just does not exist. Even though it’s common knowledge, it's not all that common to find online!
I’ve done this many, many times with a lot of cages, and I had to figure it out all on my own. The first time I tried to do this was in 2009, when the internet wasn't exactly chalk full of DIY and homemade tutorials. (Luckily my mom's Boyfriend-At-The-Time helped me figure out how to do it.) Overall, I’ve had to learn how to do this from experience. I've had so many opportunities to screw this up, so I hope that my own experience will help you to be able to do this more efficiently. Learn from my mistakes and follow these instructions very carefully!
You can find hardware cloth in the gardening or fencing section of a hardware store like Home Depot, or at your local feed store. You’ll want to look for the 1/2” mesh.
A lot of people refer to this as chicken wire, but technically, that’s incorrect. Chicken wire typically has 1” mesh, so if you buy that, you’re just going to end up wasting your time and money because the gap between mesh of the chicken wire is going be the exact same size as the bar spacing of your cage.
|
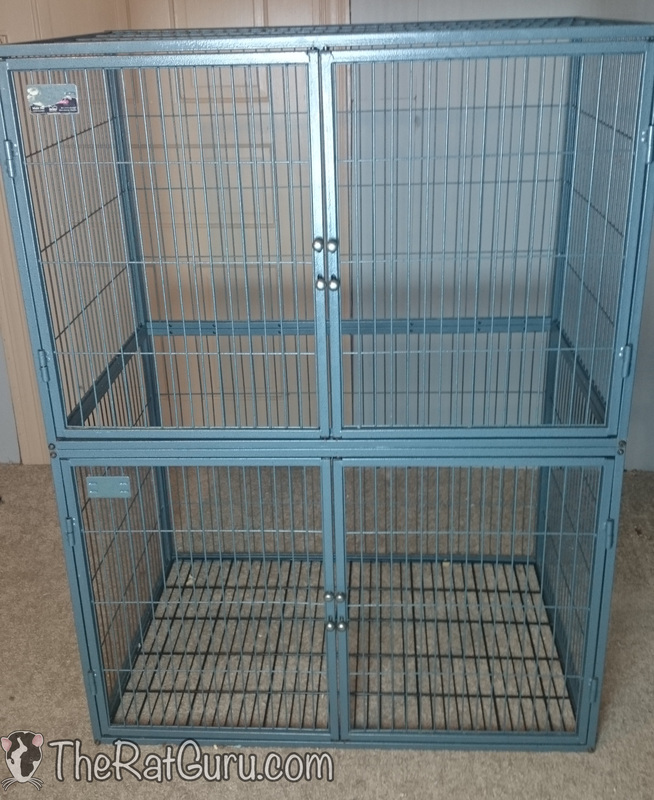
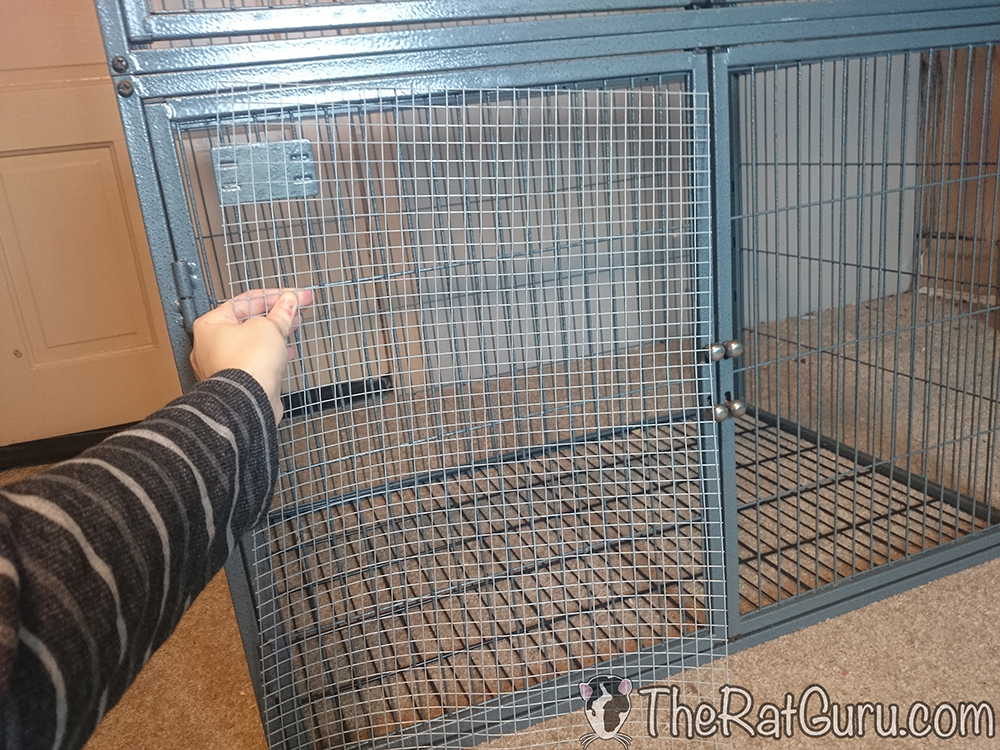
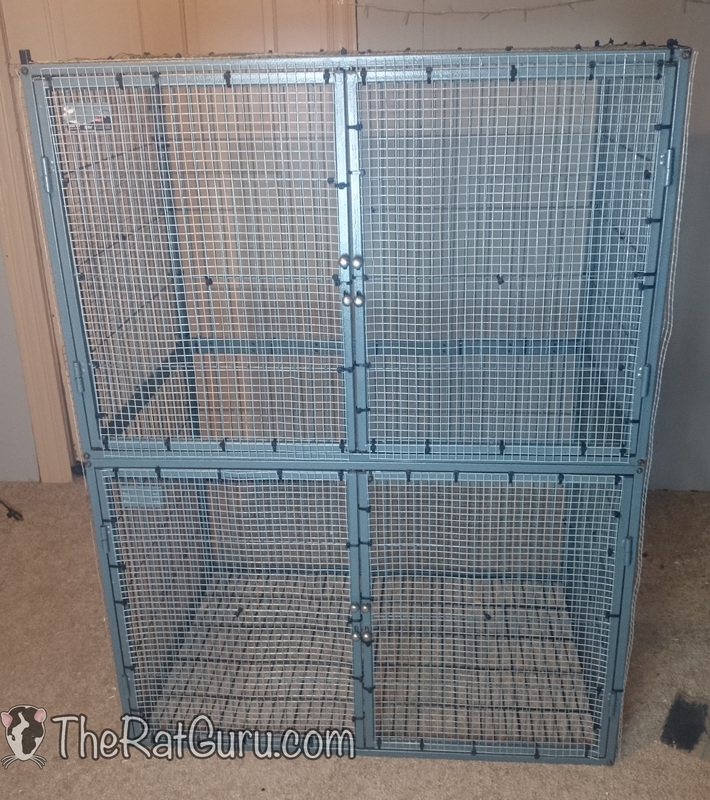
The cage in this tutorial is a Double Ferret Nation, but you can modify the instructions to suit any cage you want.
|
To Get Started, You Will need:
- Hardware Cloth
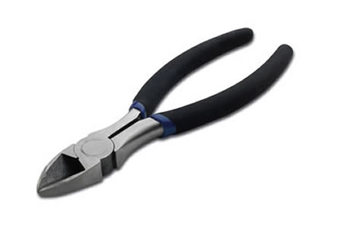
- Wire Cutters
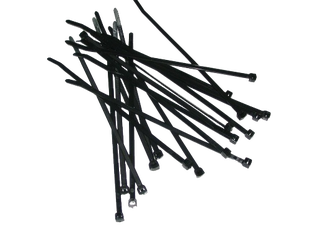
- Strong Zip Ties
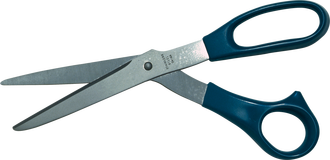
- Scissors
- A Lovely Assistant (optional)
(You can do this by yourself, but depending on the size of the cage, it's much easier to do with a buddy.)
Materials:
|
|
|
|

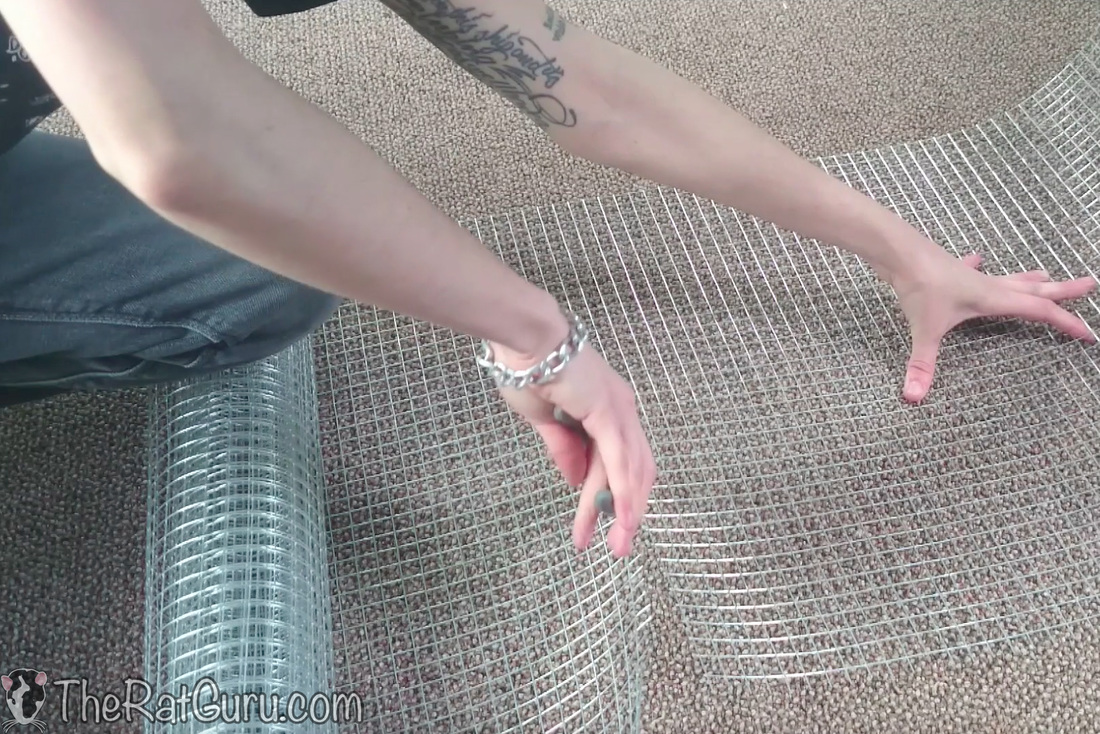
Step 1: Measure & Cut
|
First you will need to cut the mesh fit the dimensions of your cage. You’ll need 1 piece per side, and 1 piece per door. So measure each section of the cage, and begin cutting the mesh accordingly.
|
|
Make sure you cut as closely, and as straight as you possibly can. The wire is very sharp, and can easily hurt you or your rats. If you leave too much excess wire, or you cut at an angle, someone is going to wind up getting injured. (That being said, you can wear gloves if it makes you feel safer.)
When you’re done cutting, your pieces should look like this:
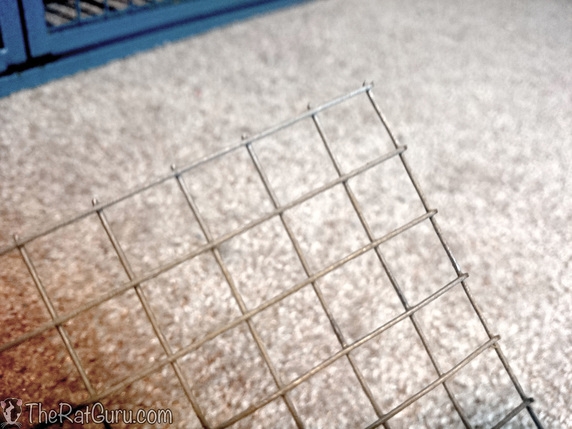
The edges should be as smooth as you can possibly get them.
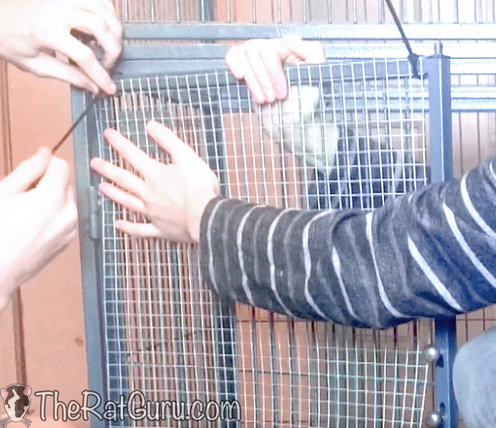
Step 2: Align the Pieces
|
Align the pieces of mesh to the cage, and begin zip tying it to the bars. I like to start with the corners, just to keep it in place while I’m working on it.
|
|
Step 3: Attach the Mesh
|
Continue securing the wire with zip ties. Place each zip tie about 3” to 4” apart, to keep the mesh tight against the cage.
|

|
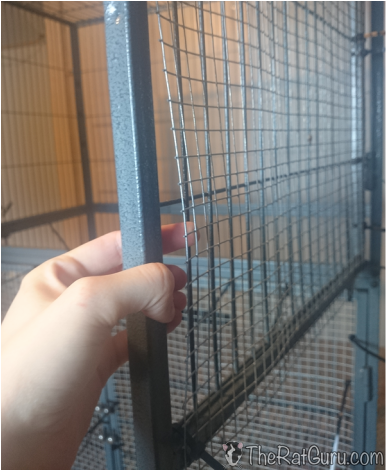
Step 4: Security Check
Make sure to check for any gaps the rats might be able to escape from. Push the mesh out with your fingers, and if it seems easy to push, place a zip tie in the middle of the gap.
You should also place one or two zip ties somewhere in the middle, so that the rats cannot get their heads stuck between the bars of the cage and the mesh.
You should also place one or two zip ties somewhere in the middle, so that the rats cannot get their heads stuck between the bars of the cage and the mesh.
|
|
Repeat Steps 2-4 until you’ve covered the entire cage.
|
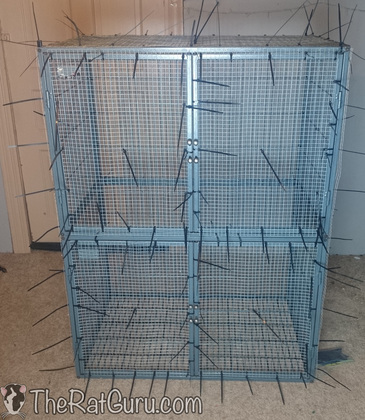
When you’re done, your cage should look like a rattie torture chamber.
If you’ve never imagined what Auschwitz for Rats would look like… well, it’s this. |
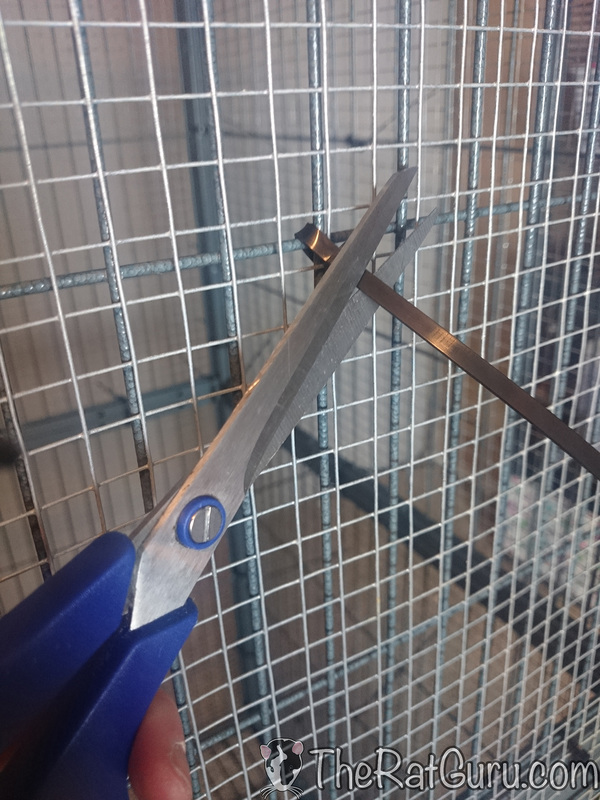
Step 5: Cut Off the Tails
(No, not your rats' tails! The tails of the zip ties!)
|
The last step is the most tedious part for me. The cage is completely finished, except for the few hundred uncut zip ties sticking out from everywhere.
Cut off the tails of each zip tie as closely as you can with a pair of strong scissors, or you can use your wire cutters. Again make sure you cut straight and close, because sharp plastic can scratch you or your rats. |
|
|
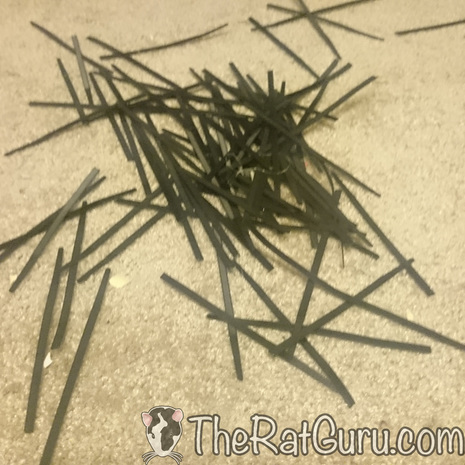
Once all of the zip ties are cut, you should have a giant pile of useless plastic sticks that you’re going to ponder at while thinking about how much of our planet’s nonrenewable resources you just wasted.
(Or you could.... recycle them.... I guess.) |
|
done!!
Now you’re finished!! Before placing your rats in the cage, make sure the entire cage is covered from top to bottom. Do a final inspection to check for any gaps or parts that you may have missed.
|
Once you’re done setting everything up, you should stay in the room for at least an hour or two to watch for any escape artists. If you see any of your rats get out, you’ll know where the cage needs patched up. You should also inspect the cage daily for any chewed off zip ties.
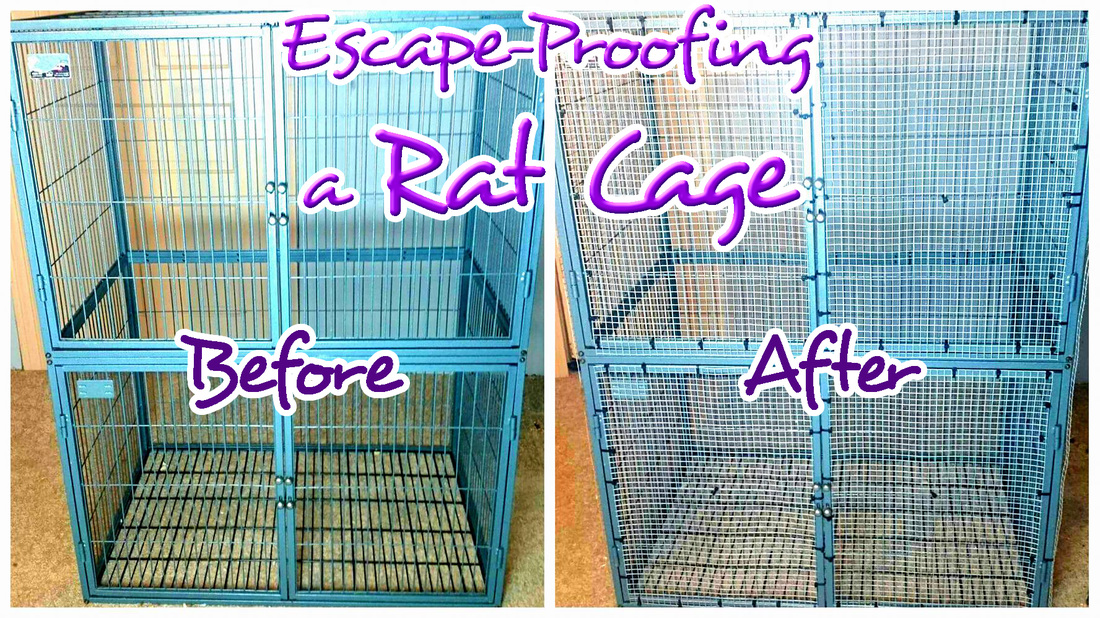
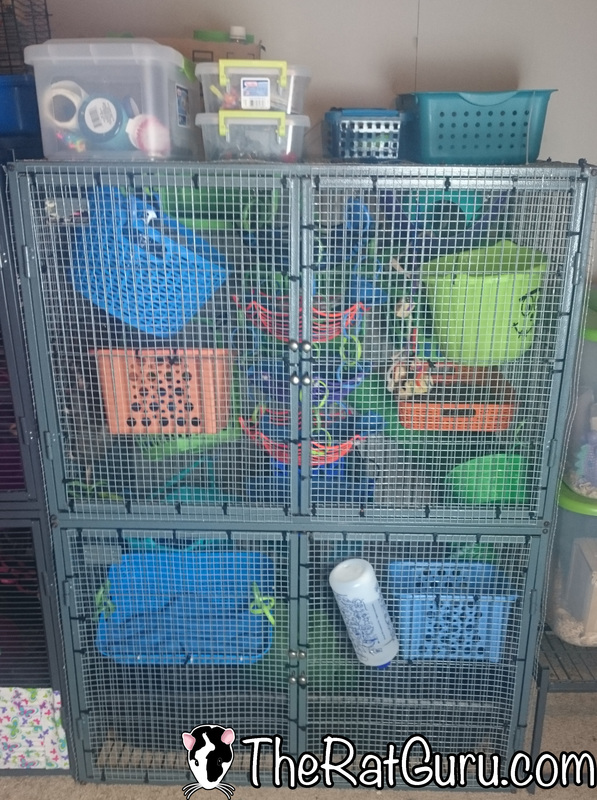
I will be the first to admit that this does take away just about any and all aesthetic value from the cage. However, I've seen other rat parents use colorful pink, blue or green zip ties to make it look less "prison-y." |
Before
|
After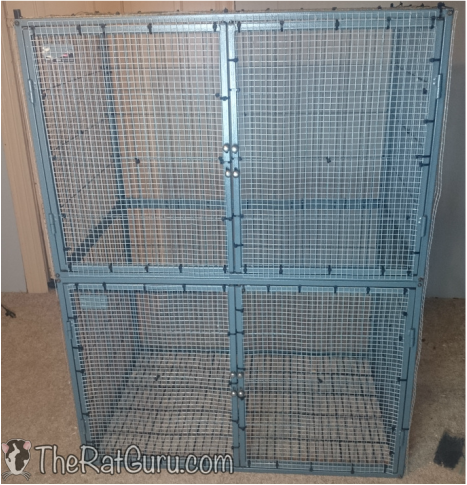
|
Once again, I've had to figure all of this out through nothing but my own experience. That means I've had a lot of rats escape from my newly-wrapped cages; or either the rats or myself wind up with pretty nasty wounds from being cut by the sharp wires.
I've also experienced both extremes from the rats chewing the zip ties clean off and escaping, to making the mistake of using a more permanent method of attaching the mesh by using metal C-clips, and then not being able to remove the hardware cloth when I no longer need it. That being said, be sure to use the strongest plastic zip ties you can find, so that the rats can't easily chew them off, but you'll still be able to remove the mesh when you don't want it anymore.
I truly hope this was helpful for you! Thank you for reading, and good luck with your cage!
